Installing HPR Off – Road Shocks correctly is essential to ensure optimal performance. Here’s a step – by – step guide to help you through the process.
1. Gather Your Tools
Before you start, make sure you have all the necessary tools. This includes a jack, jack stands, wrenches, socket set, and torque wrench. Having the right tools will make the installation process smoother and safer.
2. Prepare Your Vehicle
Park your vehicle on a flat, stable surface. Use the jack to lift the vehicle and secure it with jack stands. Make sure the vehicle is stable before proceeding. This is a crucial safety step to prevent the vehicle from falling during the installation.
3. Remove the Old Shocks
Locate the bolts that hold the old shocks in place. Use your wrenches or socket set to remove these bolts. Be careful as the old shocks may be under tension. Once the bolts are removed, carefully remove the old shocks from the vehicle.
4. Install the HPR Shocks
Take your new HPR shocks and align them with the mounting points on the vehicle. Insert the bolts and tighten them using a torque wrench to the manufacturer’s recommended specifications. This ensures that the shocks are securely fastened and will perform as intended.
5. Test the Installation
Lower the vehicle off the jack stands and give it a test drive. Check for any unusual noises or vibrations. If everything feels normal, you’ve successfully installed your HPR Off – Road Shocks. For more detailed installation guides and tips, visit HPR Off – Road Shocks.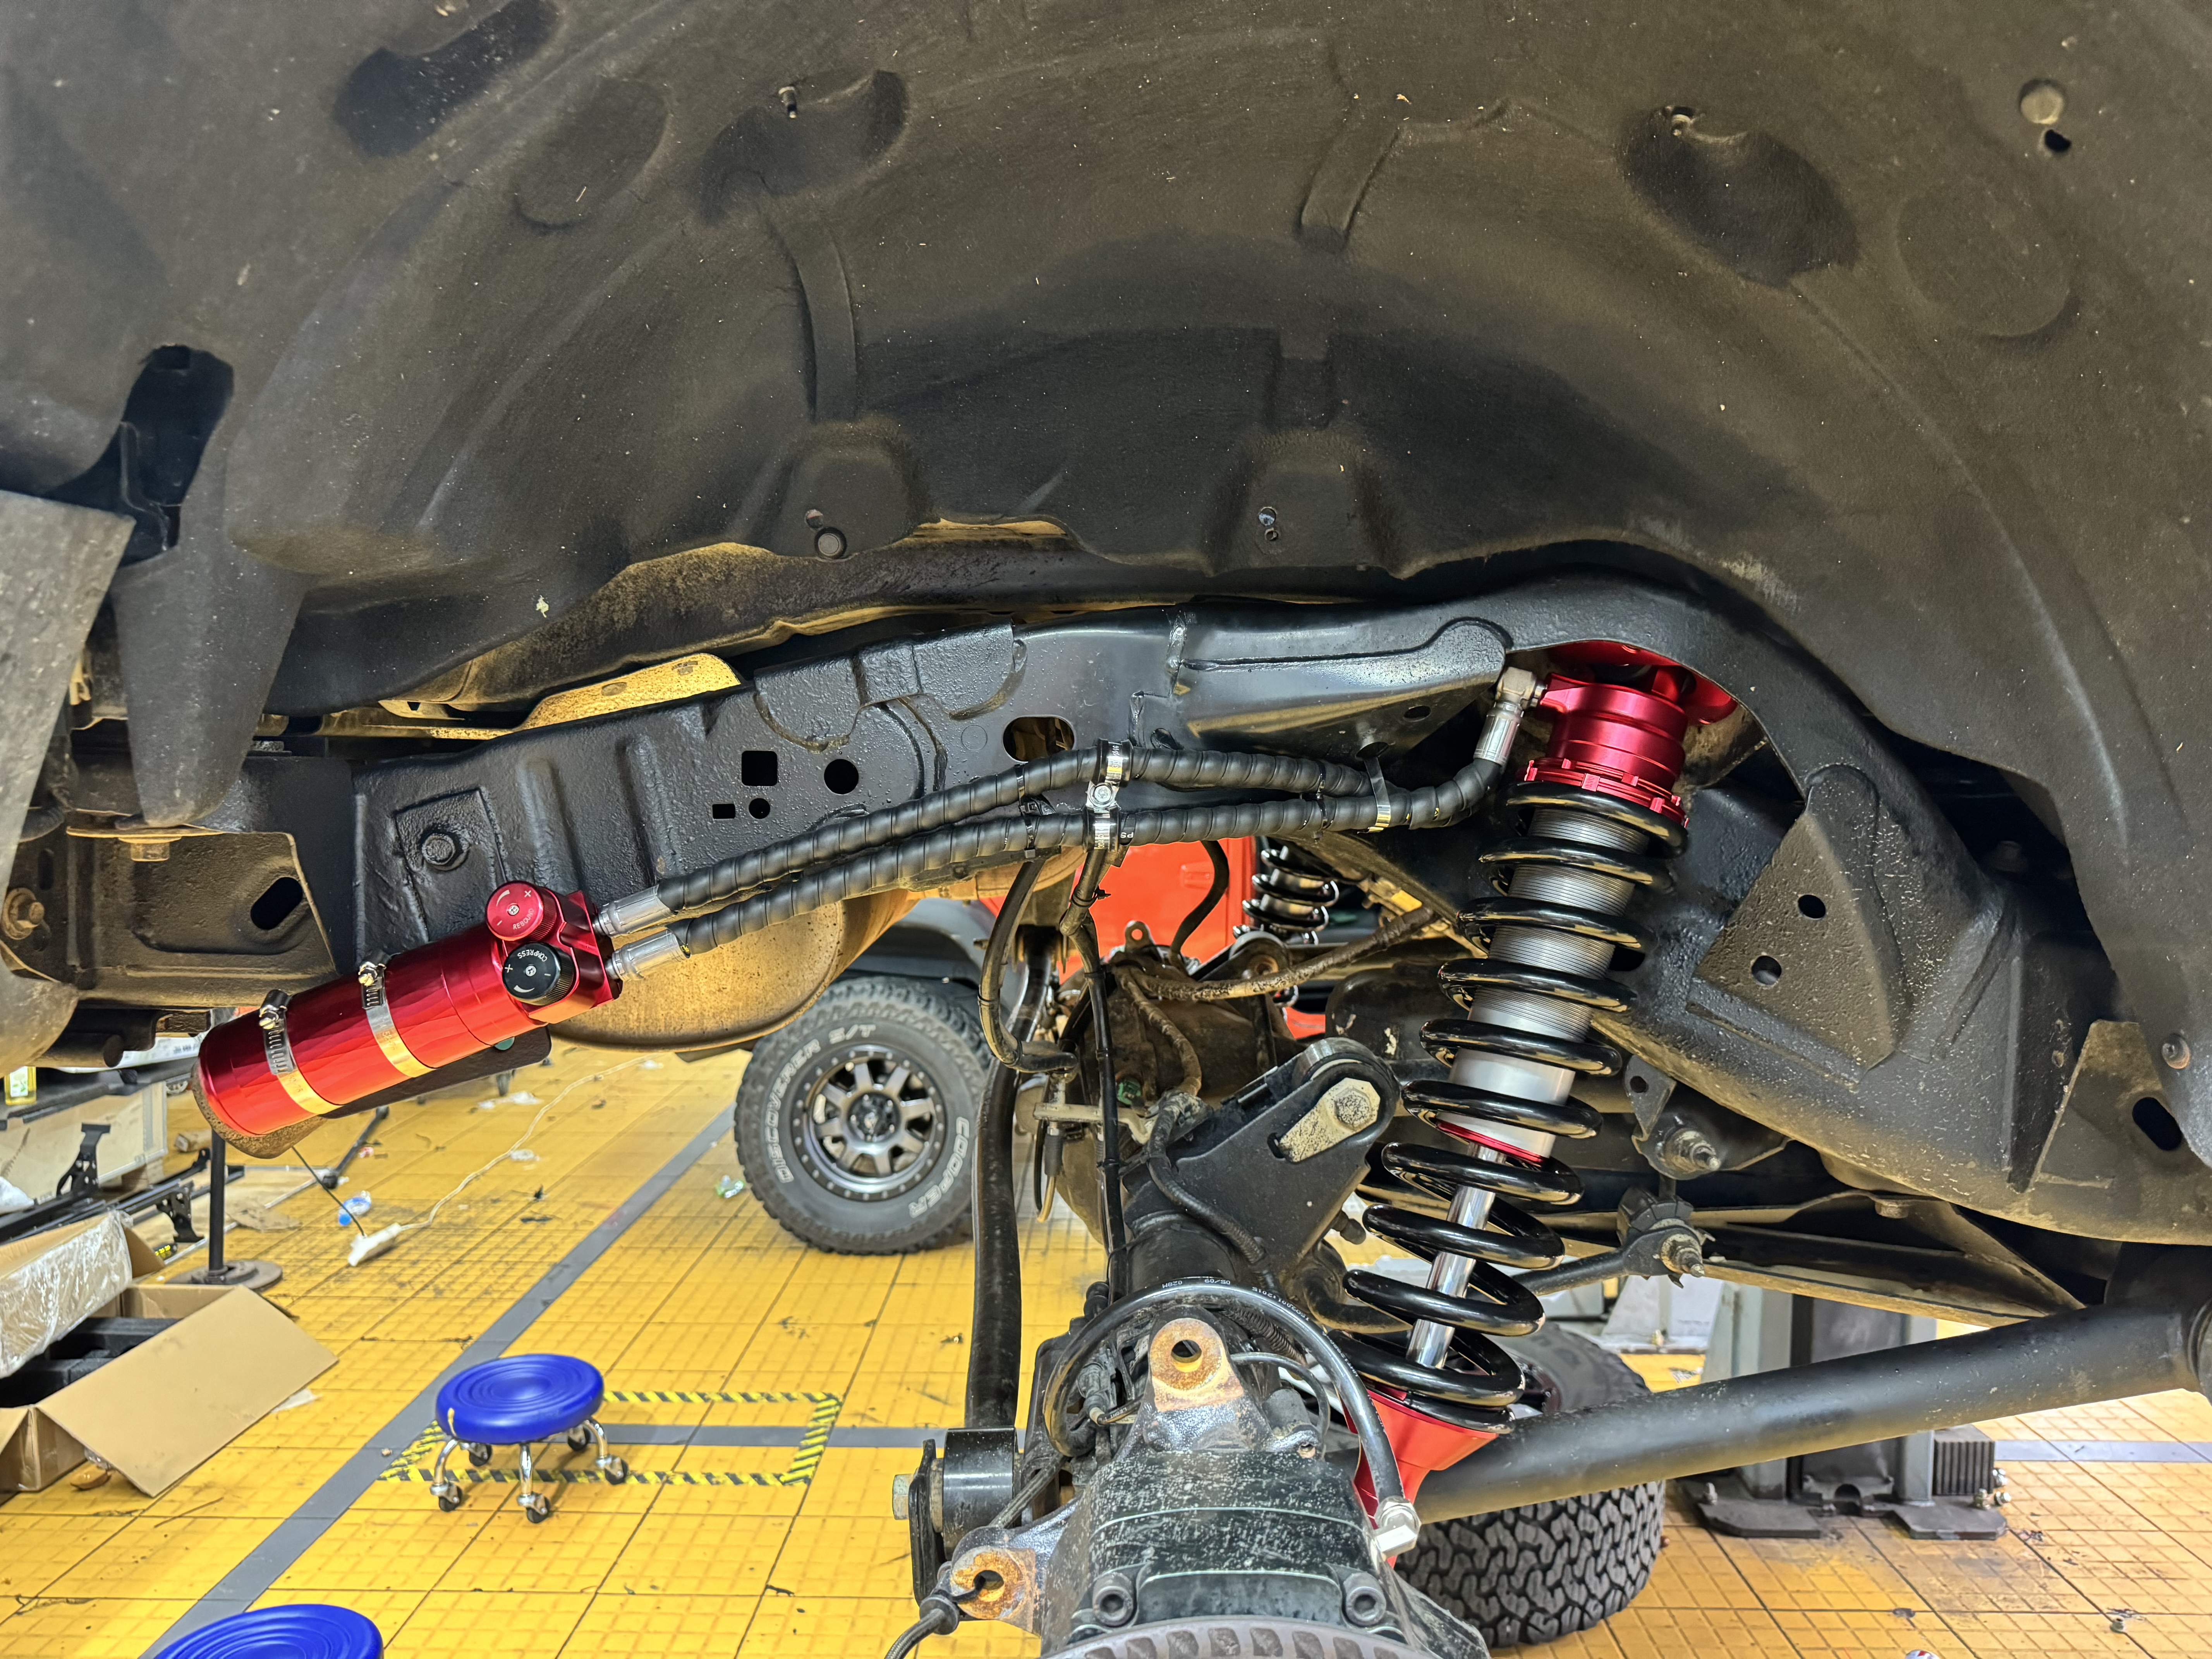
Post time: Apr-18-2025