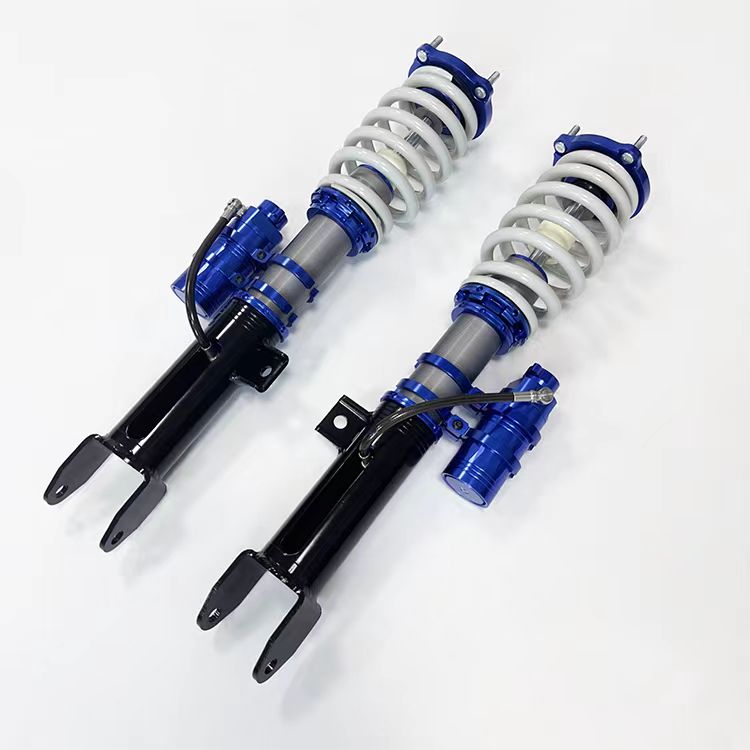
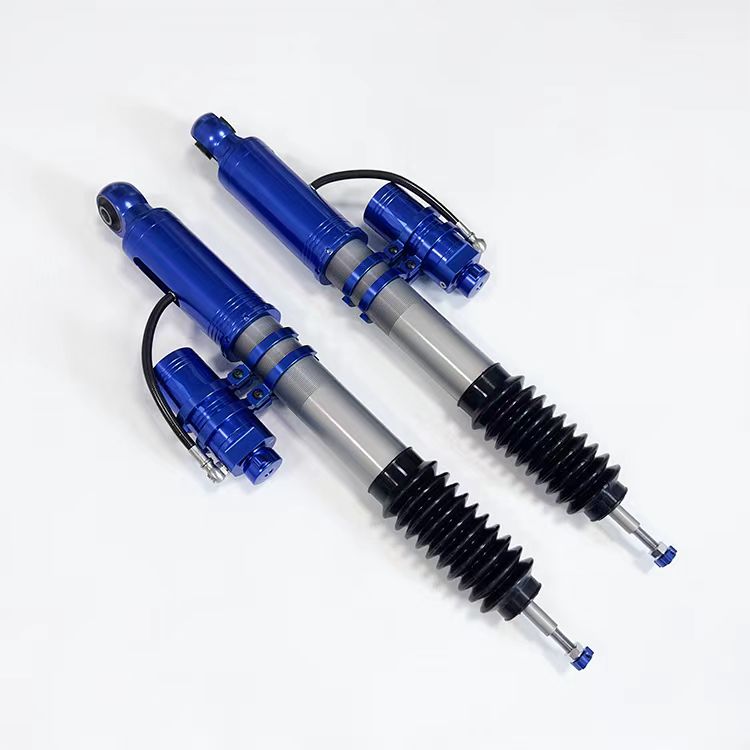
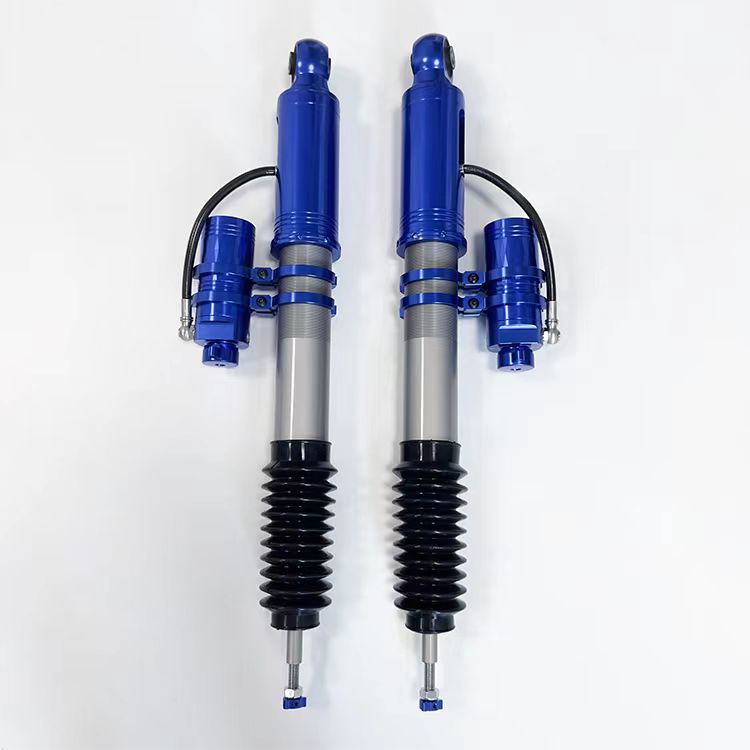
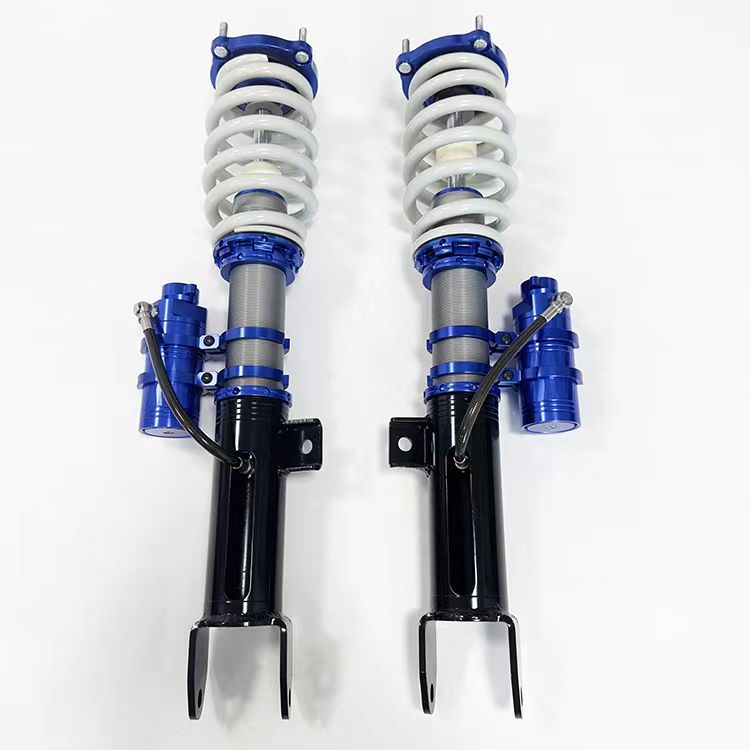
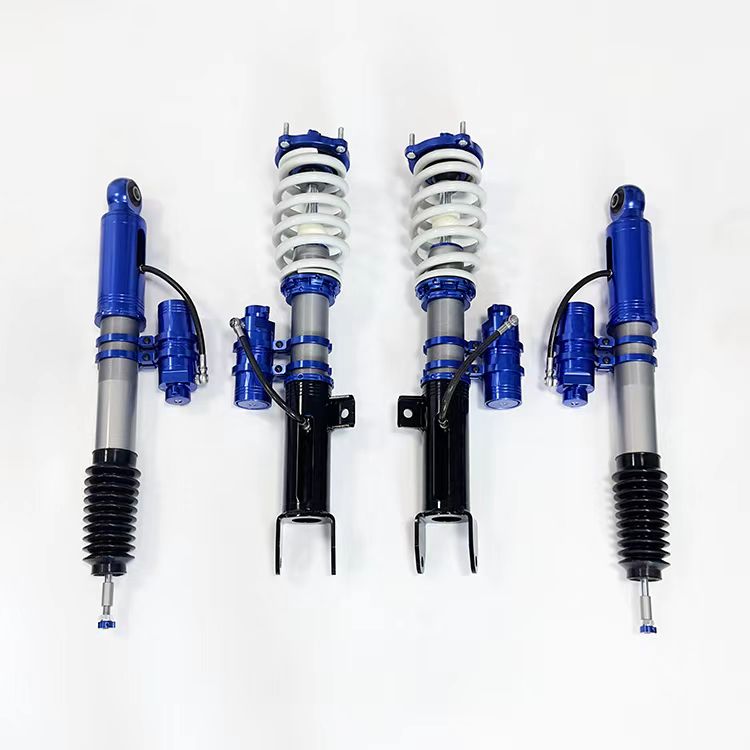
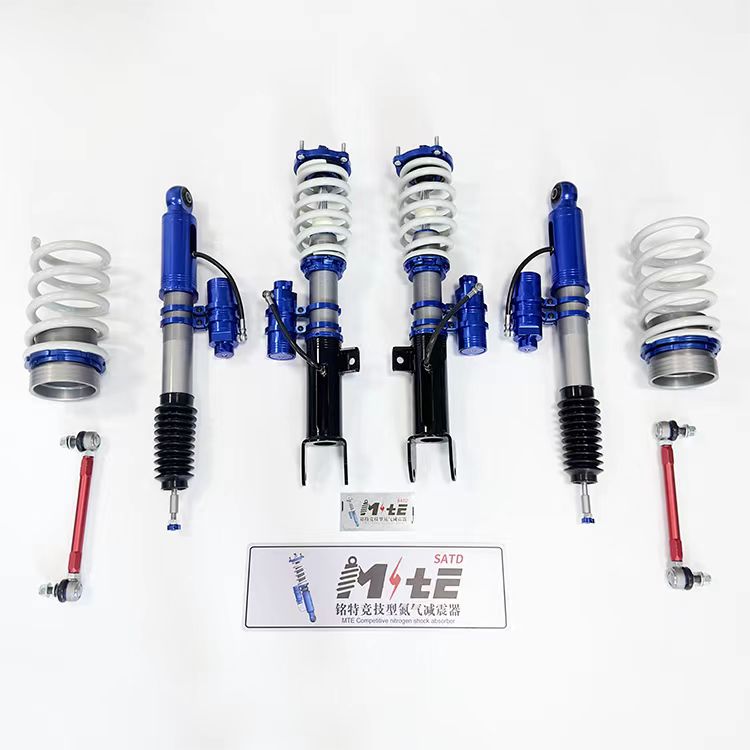
Upgrading Your Tesla Model 3: Installing the 2.0 SHOX Factory High Performance Racing Nitrogen Mono Tube Shocks
If you’re the type of Tesla owner who wants the ultimate in racing performance and handling, look no further than the 2.0 SHOX Factory High Performance Racing Nitrogen Mono Tube Shocks. These top-of-the-line shocks are designed to deliver superior performance on the track and on the street, giving you the handling and stability you need to tackle even the most challenging driving conditions.
Luckily, upgrading your Tesla Model 3 with these high-performance shocks is a simple process that can be done with just a few basic tools. Here’s what you need to know to upgrade your suspension system and enjoy the many benefits these top-quality shocks can provide.
Step 1: Get Your Car Ready for the Upgrade
Before you begin the upgrade process, make sure your Tesla Model 3 is ready. Park your vehicle on a level surface and chock the wheels to prevent any movement while you work. Use a jack to raise the car and place jack stands under the front and rear axles, ensuring that the car is securely supported.
Step 2: Remove the Old Shocks
Using a wrench, remove the nuts and bolts that secure the old shocks in place. Once the old shocks are removed, inspect the mounting points to ensure they are clean and in good condition.
Step 3: Install the New Shocks
Install the new 2.0 SHOX Factory High Performance Racing Nitrogen Mono Tube Shocks using the same bolts and nuts that were used to secure the old shocks in place. Be sure to tighten the nuts and bolts to the correct torque settings to ensure proper attachment.
Step 4: Adjust the Shock Settings
Depending on your preferences, you can adjust the 2.0 SHOX Factory High Performance Racing Nitrogen Mono Tube Shocks to provide either one-way or two-way adjustability. Adjusting the settings can be done quickly and easily, allowing you to fine-tune your suspension system to your exact driving needs.
Step 5: Enjoy the Upgrade!
Once you’re done installing and adjusting your new shocks, it’s time to take your upgraded Tesla Model 3 out for a spin. You’ll immediately notice the difference in handling and stability, and you’ll be able to enjoy the many benefits that come with these high-performance shocks.
At every step in this process, the team at 2.0 SHOX Factory is committed to providing you with exceptional service and support. If you have any questions or concerns about the installation process, don’t hesitate to reach out to our team of experts. We’re here to help you get the most out of your Tesla Model 3.
Post time: Jun-14-2024